Building My Website
27th June 2020
There are a number of reasons for why I decided to build a website. But I mainly wanted a to arrange my thoughts and interests into one place, designed by my own preferences. It’s something that I thought about doing since the beginning of this year, and only recently had the time and motivation to pursue it.
I had to choose between using an online website builder (e.g. Wix, WordPress or Sqaurespace) or learning to build a static website with HTML, CSS and JavaScript. Having zero web development experience, I chose the latter more challenging option… I don't know why I make things more difficult for myself.
Nevertheless, learning HTML, CSS and JavaScript has given me full control over the look and feel of my own website. It’s never a bad thing to learn a new skill, right? Also, it’s a lot cheaper than using a website builder (pricing details below).
Anyway, I’m going to give a high-level breakdown of the steps and challenges involved in this project. This is by no means a tutorial for building a website, that material is widely available on the internet (my best friends have been Stack Overflow, W3Schools, YouTube and online documentation).
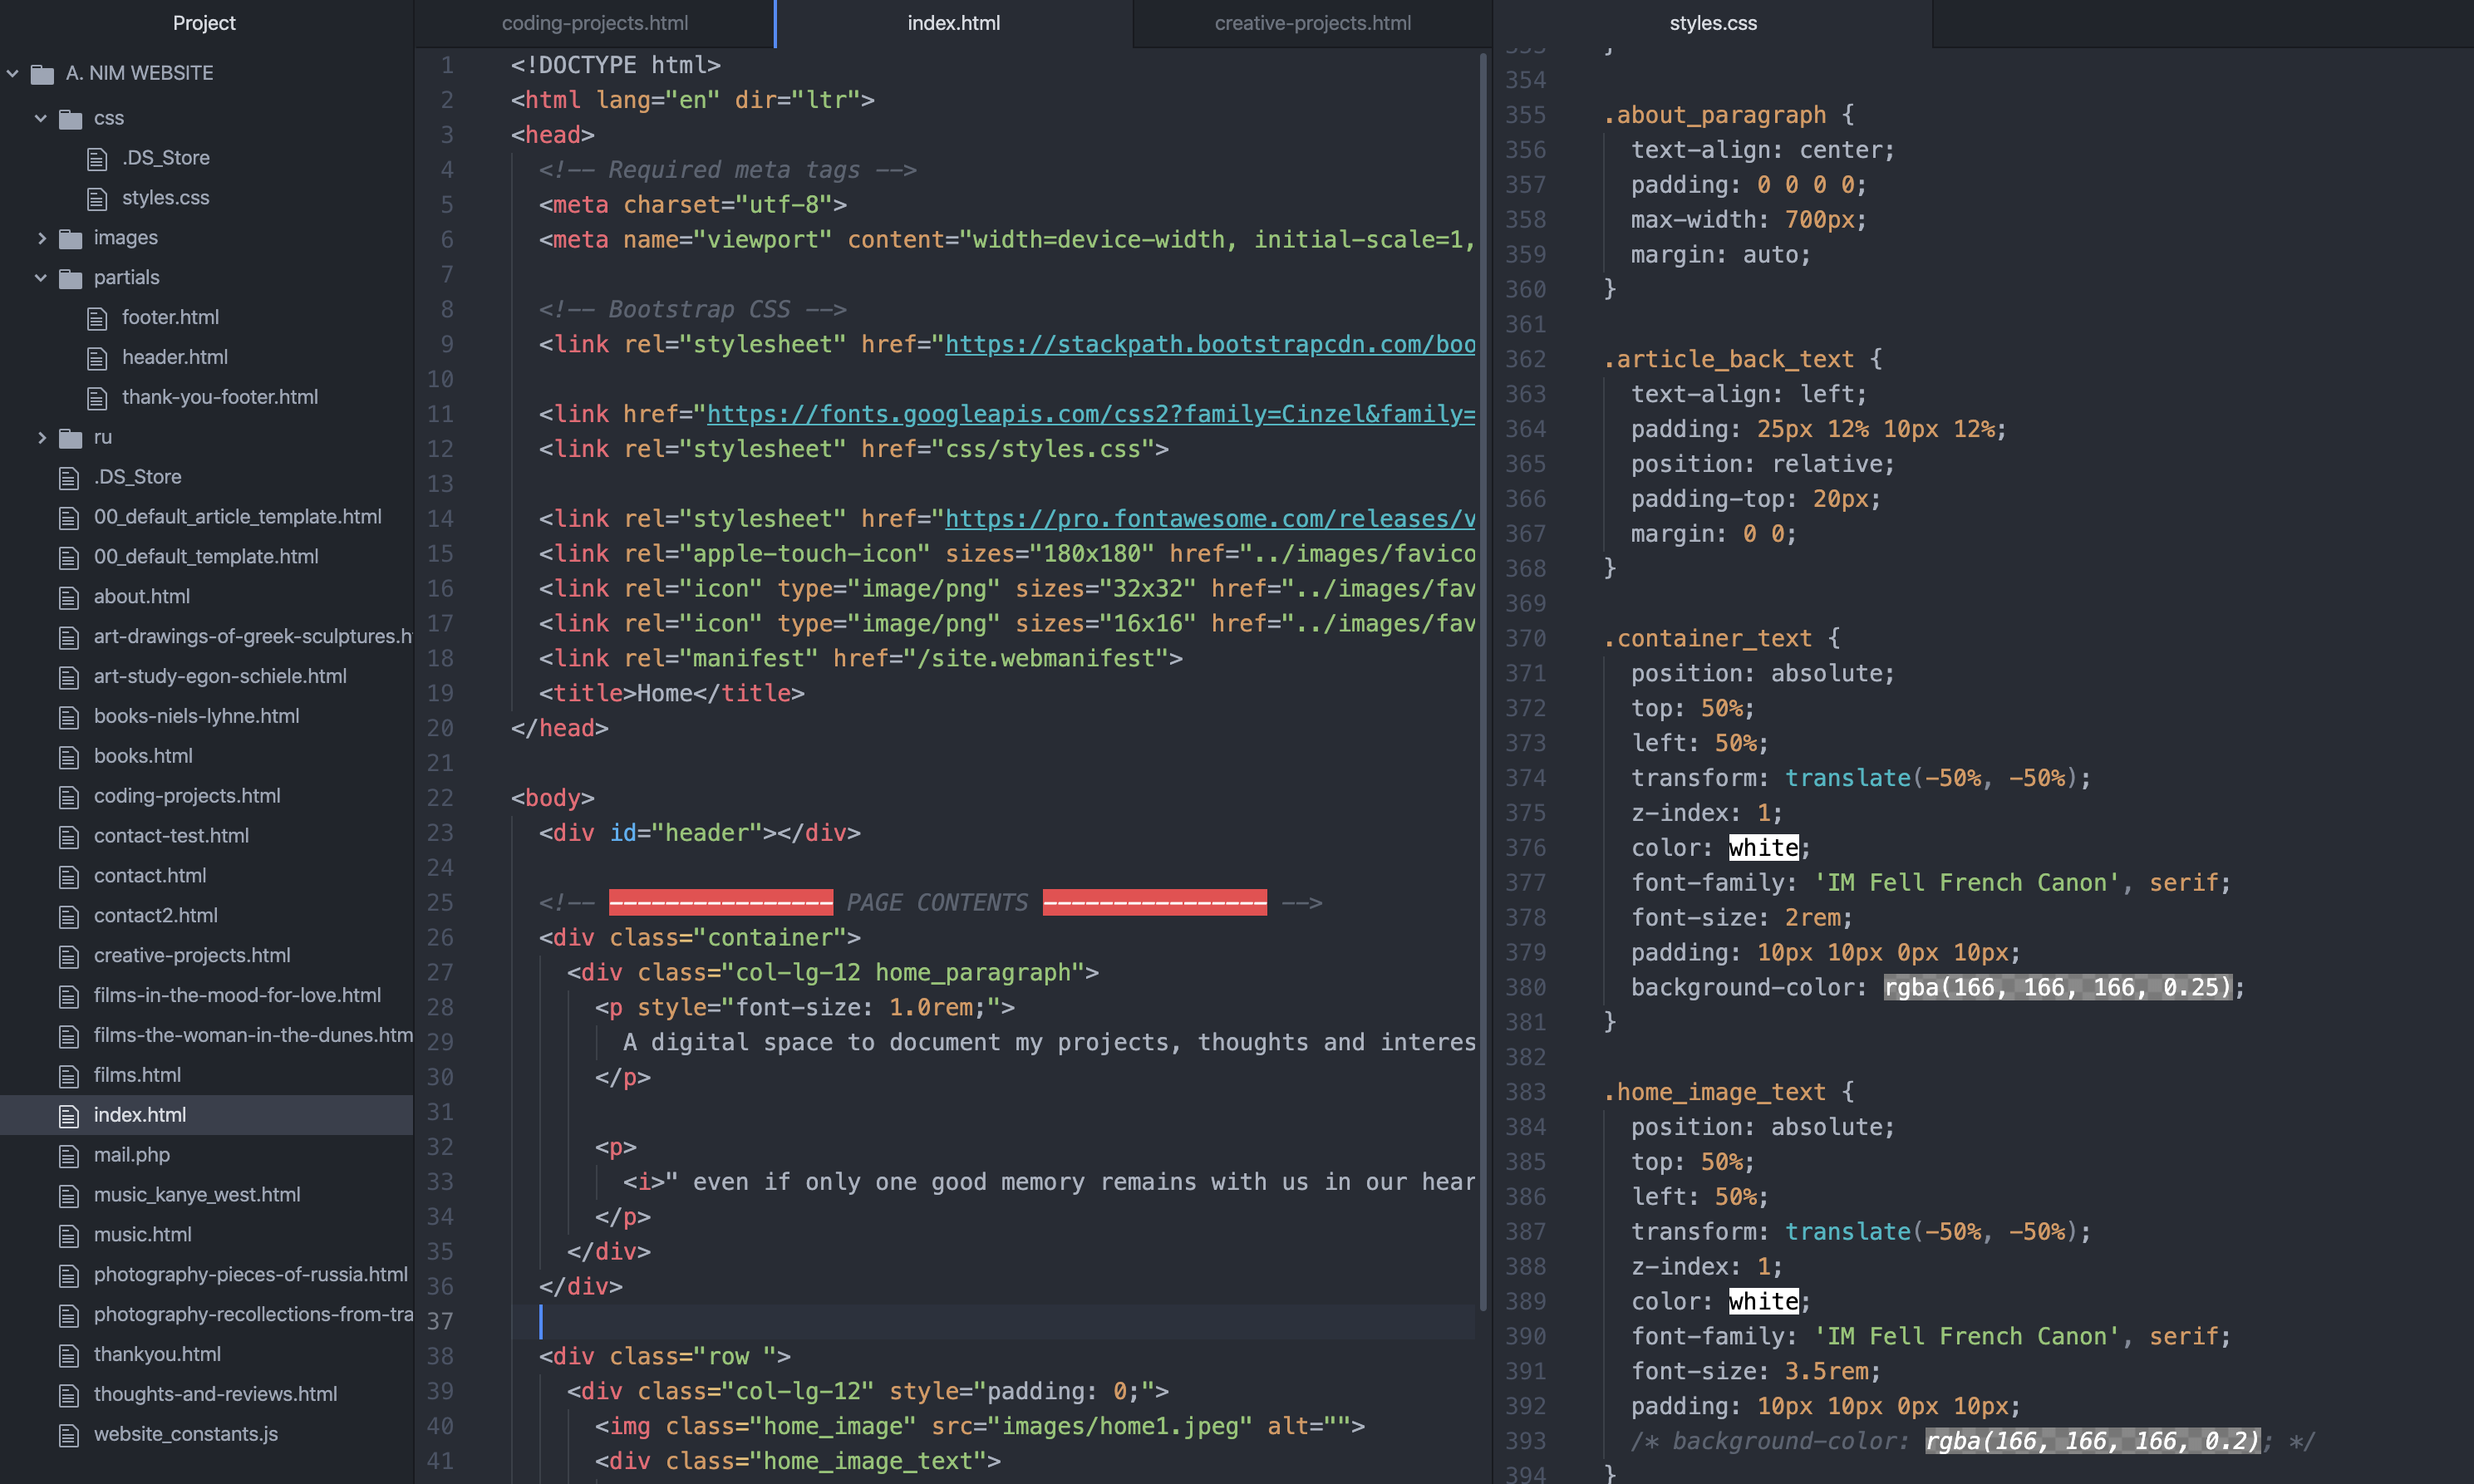
1. Learning HTML, CSS and JavaScript
In order to build a website, you must have an understanding of HTML, CSS and JavaScript. Let's think of a website as a house in order to understand where HTML CSS and Javascript fit in the picture.
- HTML would be the walls, ceilings and structure of the house. You need HTML to place, allocate and structure the content of your website.
- CSS would be the wallpaper, furniture and decorations of the website. CSS allows you to style the website’s appearance to exactly how you want it.
- JavaScript would be the plumbing, electrical wiring and the functional aspects of the house. JavaScript provides the backend functionality, such as routing webpages, relaying text and objects.
Knowing the very basics of HTML, CSS and JavaScript will take you a long way. Once you understand them, it’s relatively easy to build a website and to even copy the designs of other websites.

Photo credits: Data Driven Investor
2. Using Bootstrap, jQuery and other pieces
In order to make your website responsive to different devices and screen sizes, Bootstrap and its Grid System is really important. In addition to this, Bootstrap has many pre-styled designs such as navigation bars, buttons, etc. that will speed up the styling process of your website.
jQuery is a lightweight JavaScript library that will make it much easier to use JavaScript. Luckily for me, I only needed to build a static website, so JavaScript was used very sparsely - but still, jQuery was the go to means for implementing JavaScript.
I looked into NodeJS, React and MongoDB, which allows you to build a dynamic website that may require User Logins and Passwords with secure storage, or a web application such as a game. But I only wanted to build a static website displaying my own content with little to no viewer interaction. So I didn’t spend too much time learning to use NodeJS, etc.
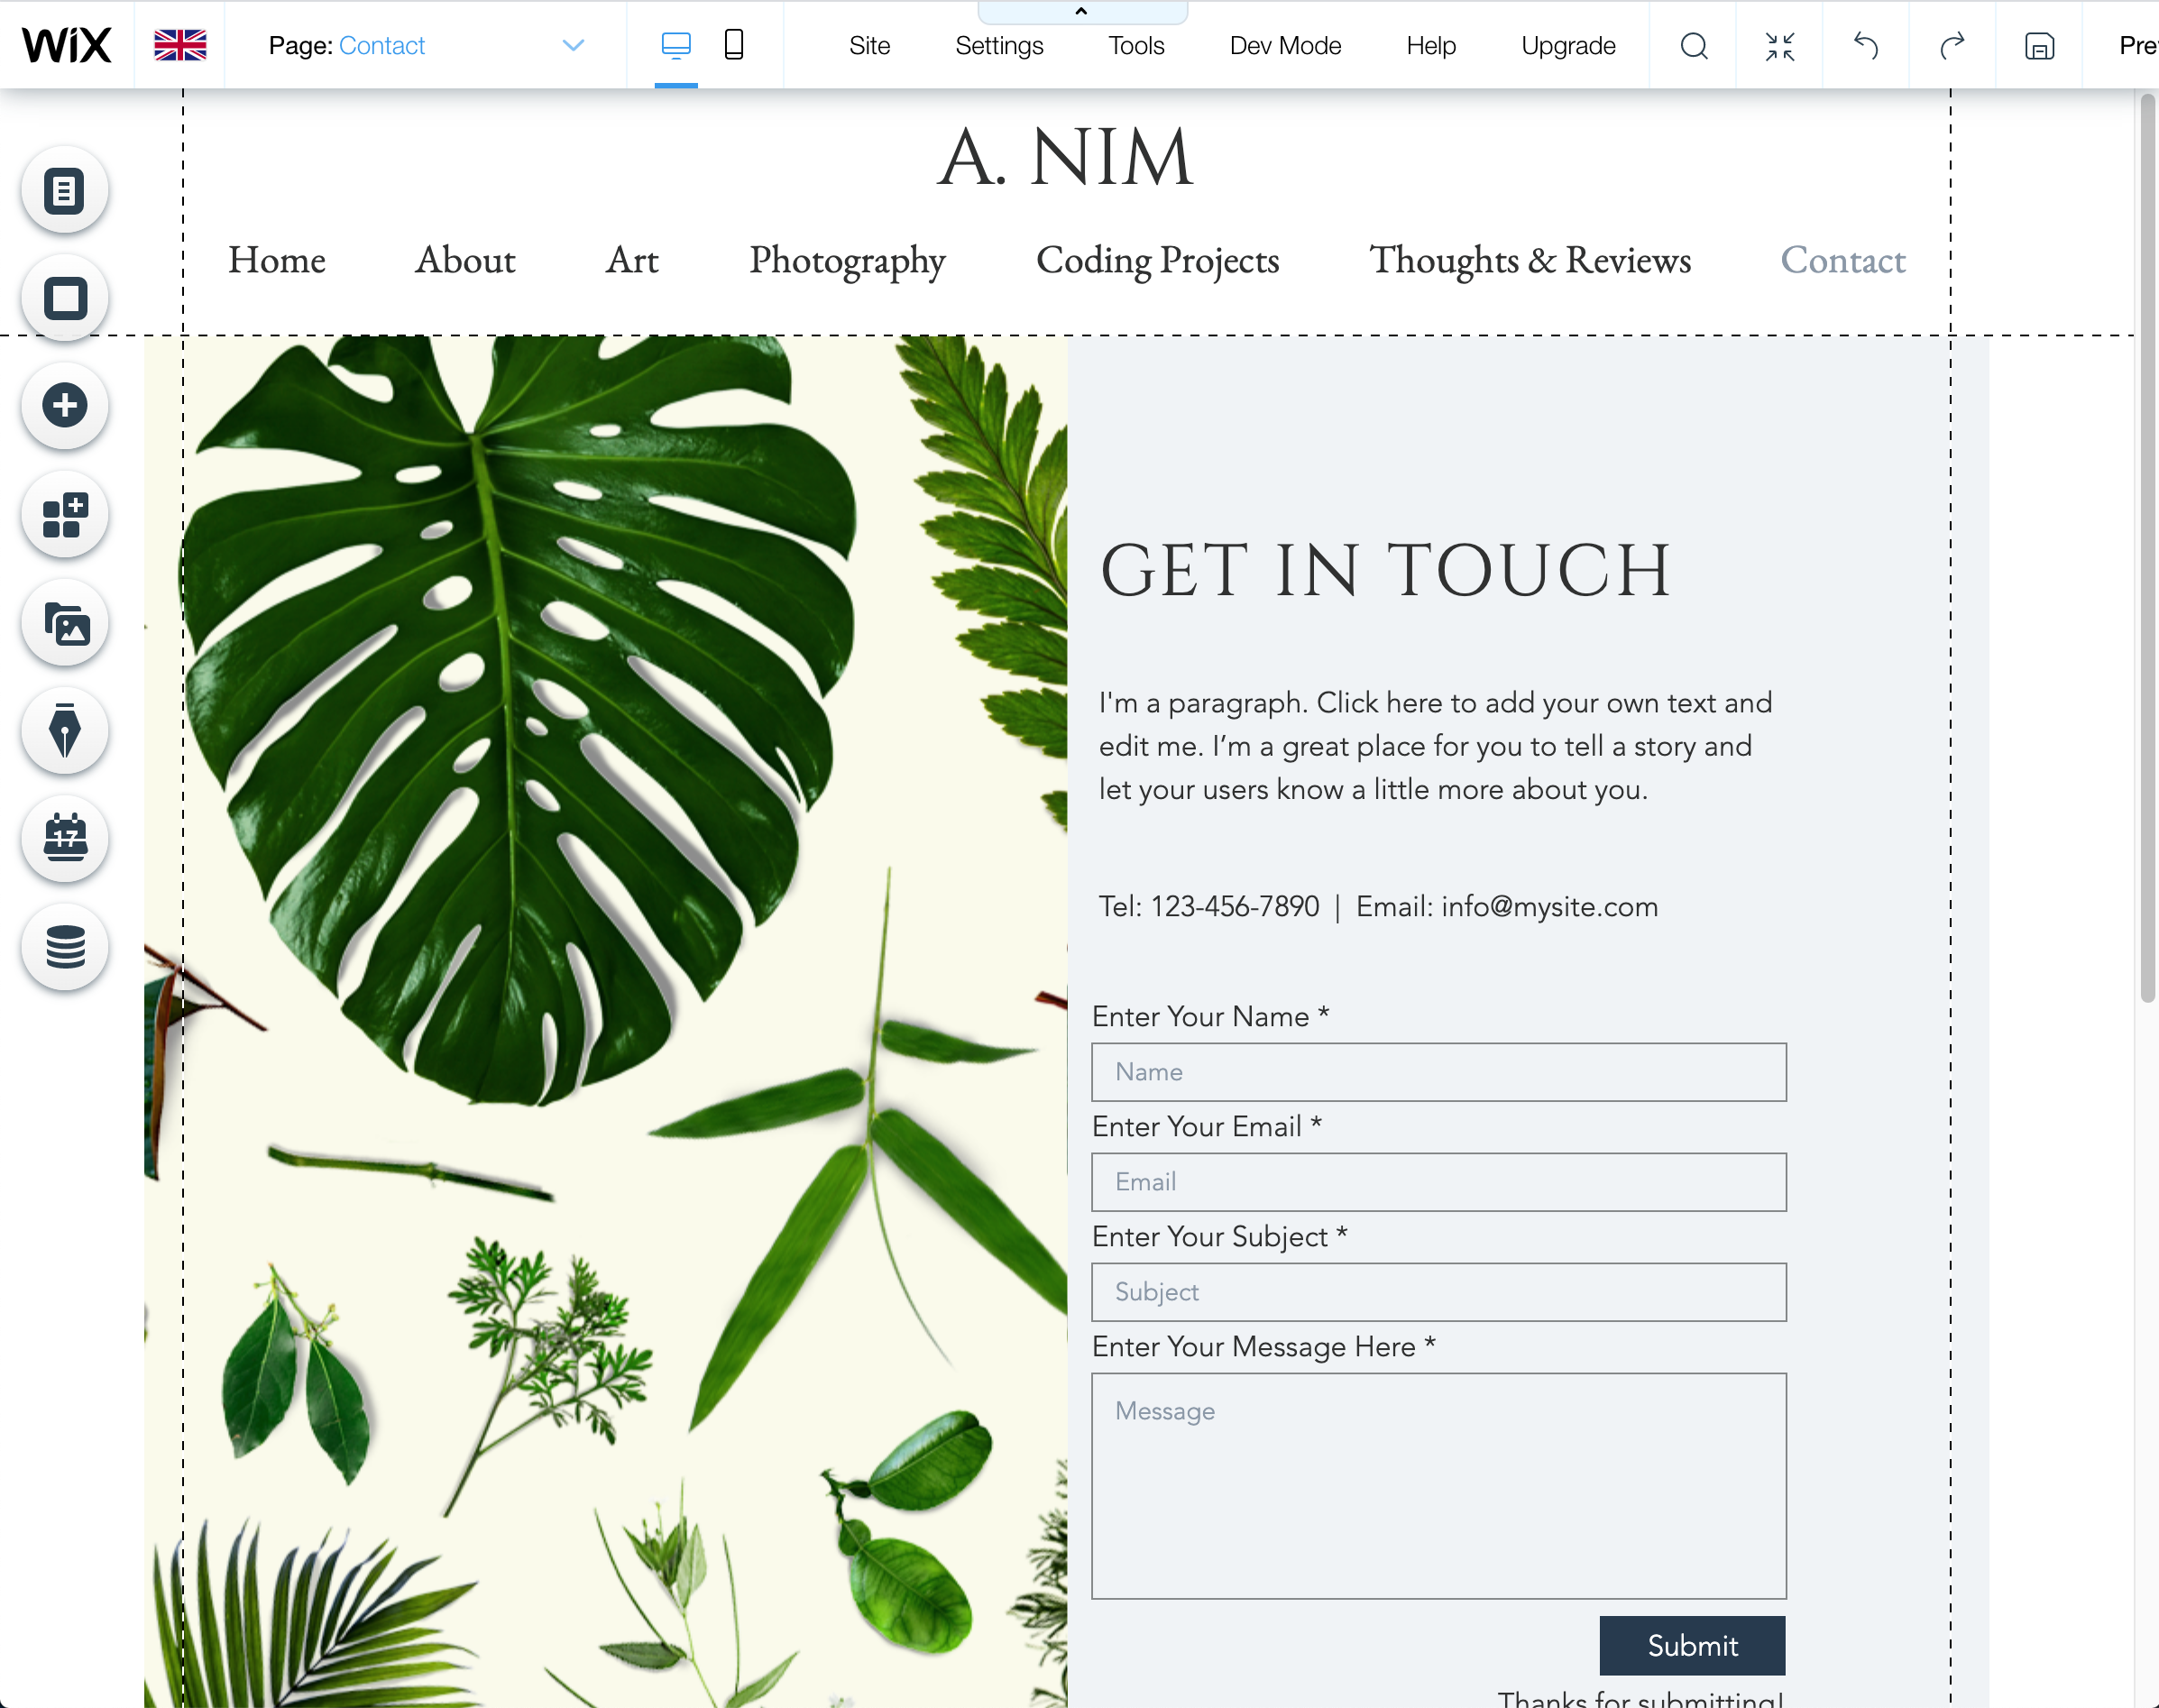
3. Designing your website
This strongly depends on your own imagination and design choices, but one way that you can prototype your website is by creating the look and feel you want with a website builder without paying for the premium account like Wix (that’s what I did! see the image below). You might even find it’s easier to just use a website builder and decide to scrap the idea of building a website with code. But if you’re still determined to learn HTML, CSS and JavaScript, you'll be able to easily replicate your design from Wix. It takes a while, but it’s not impossible!
The actual design of your website is often strongly dependent on your content (for example, my website is actually quite minimal in design and therefore relies heavily on the content). Again, this depends on your own design choices which vary from person to person. I placed a lot of time aside to draw, organise the right photos, write articles and excerpts, style the fonts and buttons, etc. for my website. It’s extremely time consuming, but the end product is always worthwhile.
4. Hosting your website on AWS
Once you’ve built your website locally and have decided to make it available to the public, you need to find a cloud service that will host your web content. There are many to choose from, but I found AWS the easiest and most straightforward to set up, at least for hosting a static website.
I used AWS S3 to load all of my website content into a bucket, registered a custom domain with AWS Route 53 and connected the two together with the help of online documentation. The pricing here is extremely cheap, see the table below for a rough price comparison with the most popular website builders:
| By yourself | Wix | WordPress | Squarespace | |
|---|---|---|---|---|
| Domain cost / year | £9.75 | £11.30 | £12.00 | £16.00 |
| Hosting cost / year | £6.00 | £102.00 | £108.00 | £120.00 |
| Total cost / year | £15.75 | £113.30 | £120.00 | £136.00 |
Of course, using a website builder will save you a lot of time and provide you with more pre-designed functionality (e.g. shopping services, Login pages, checkout pages, etc.) to make your website more dynamic. You can always do this yourself, but it’ll require a lot of time.
5. Building other features
Contact Form
I wanted to build a contact form on the contact page that would direct messages to my personal email address. This was quite difficult as I had to rely on several AWS services such as AWS Lambda, AWS API Gateway, AWS IAM and AWS SES. In addition to that, I had to write the correct JavaScript code to be configured with this setup. There are so many ways to build the backend of contact forms and I was looking for the easiest solution for my AWS environment. Well, at least I managed in the end.
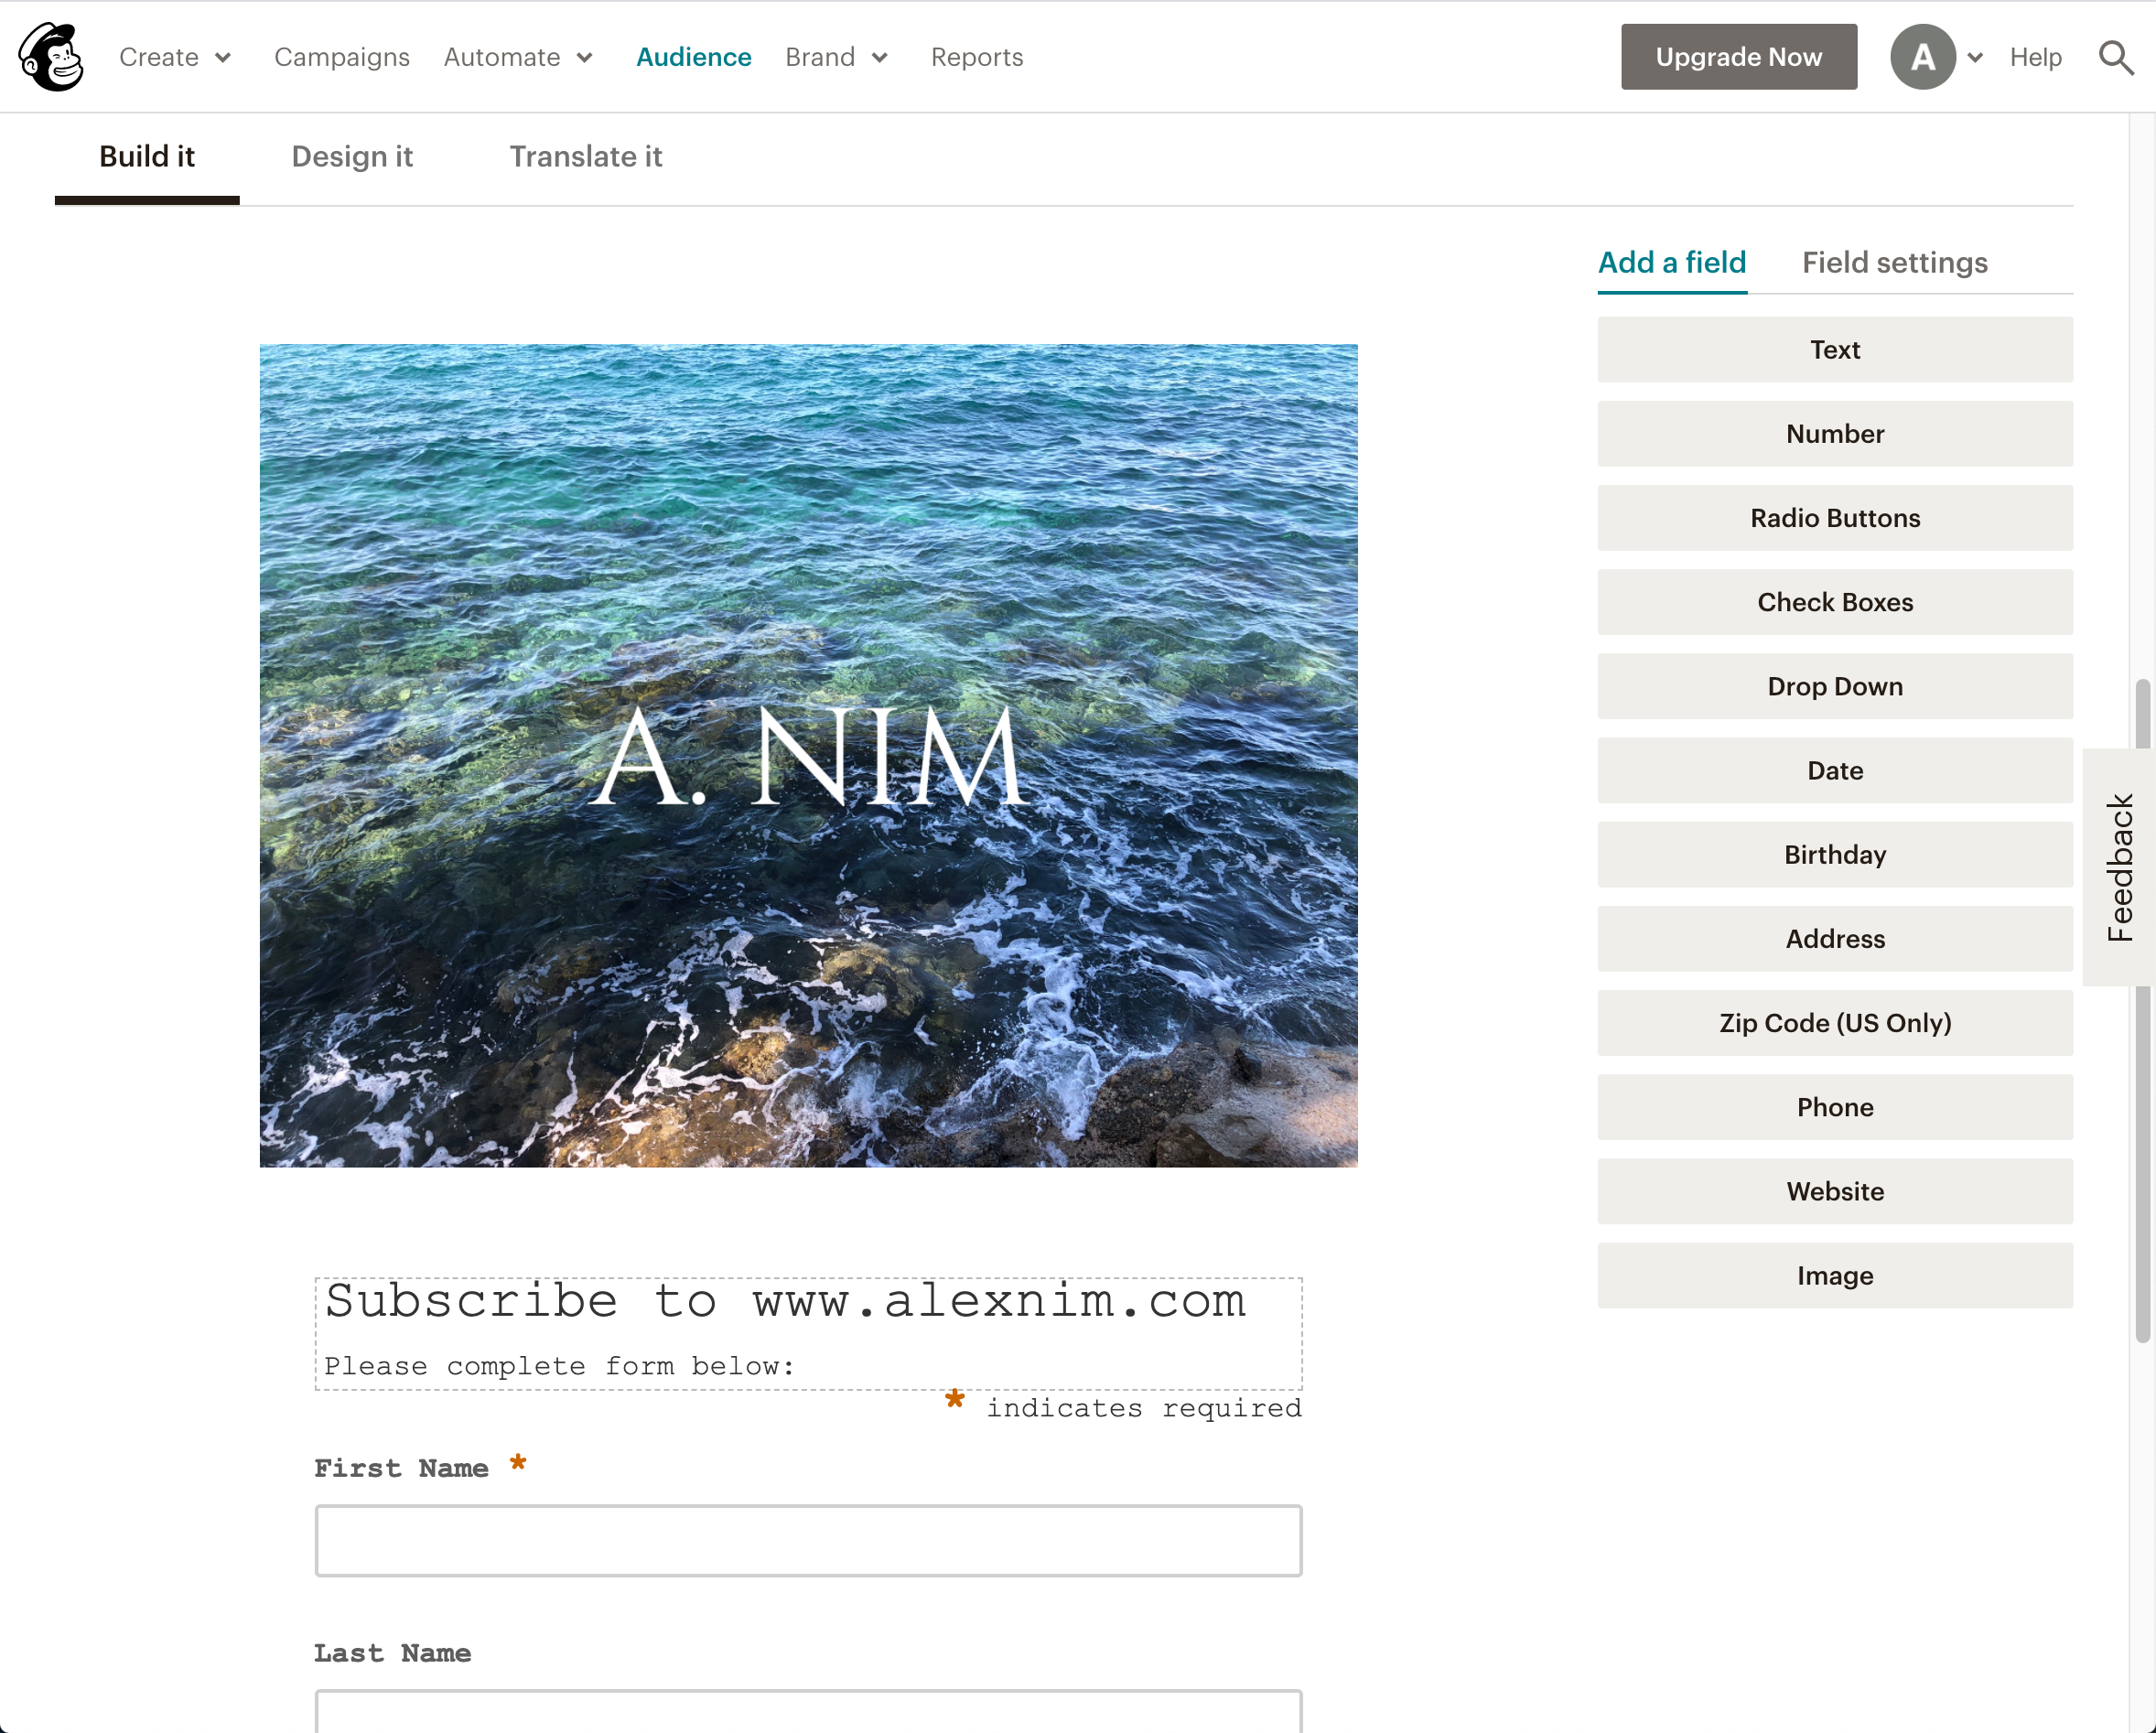
Newsletter Subscription Form
I thought it would make my website look a little more professional by adding a newletter subscription form. This was surprisingly easy to set up. The subscription form and subscribe button at the footer of my website was easy to set up, it simply required some HTML and CSS code. I then made an account with MailChimp, which is an all-in-one marketing platform that allows me to manage an email list (the first 2000 email subscriptions for your mailing list are free). After that, I simply had to design my mailing forms on MailChimp (see the image below) and then wire the API to my HTML code.
Multi-Language Option
I also wanted to build a multi-language website (why not?), however, there wasn’t a straightforward way to implement this. Similarly to building a contact page, there are so many ways to make your implement the multi-language feature into your website. I decided to write the JavaScript code to re-route my viewers to another directory containing the translated pages when they clicked on a language icon. Working out the correct JavaScript code with jQuery was extremely difficult, but the actual translating obviously took longer.
Securing my Website via HTTPS
As I've built a static website that doesn't require user log in details, or credit card information, it wasn't actually necessarily for me to configure my website such that viewers use an ecrypted connection through a HTTPS request. However, it doesn't look strange to the unknowledgable viewer when your website states 'not secure' on the browser. So I decided to secure my website for the sake of professionalism. I used AWS CloudFront, Route 53 and AWS Certificate Manager to hook up my AWS S3 Bucket to a secure connection.
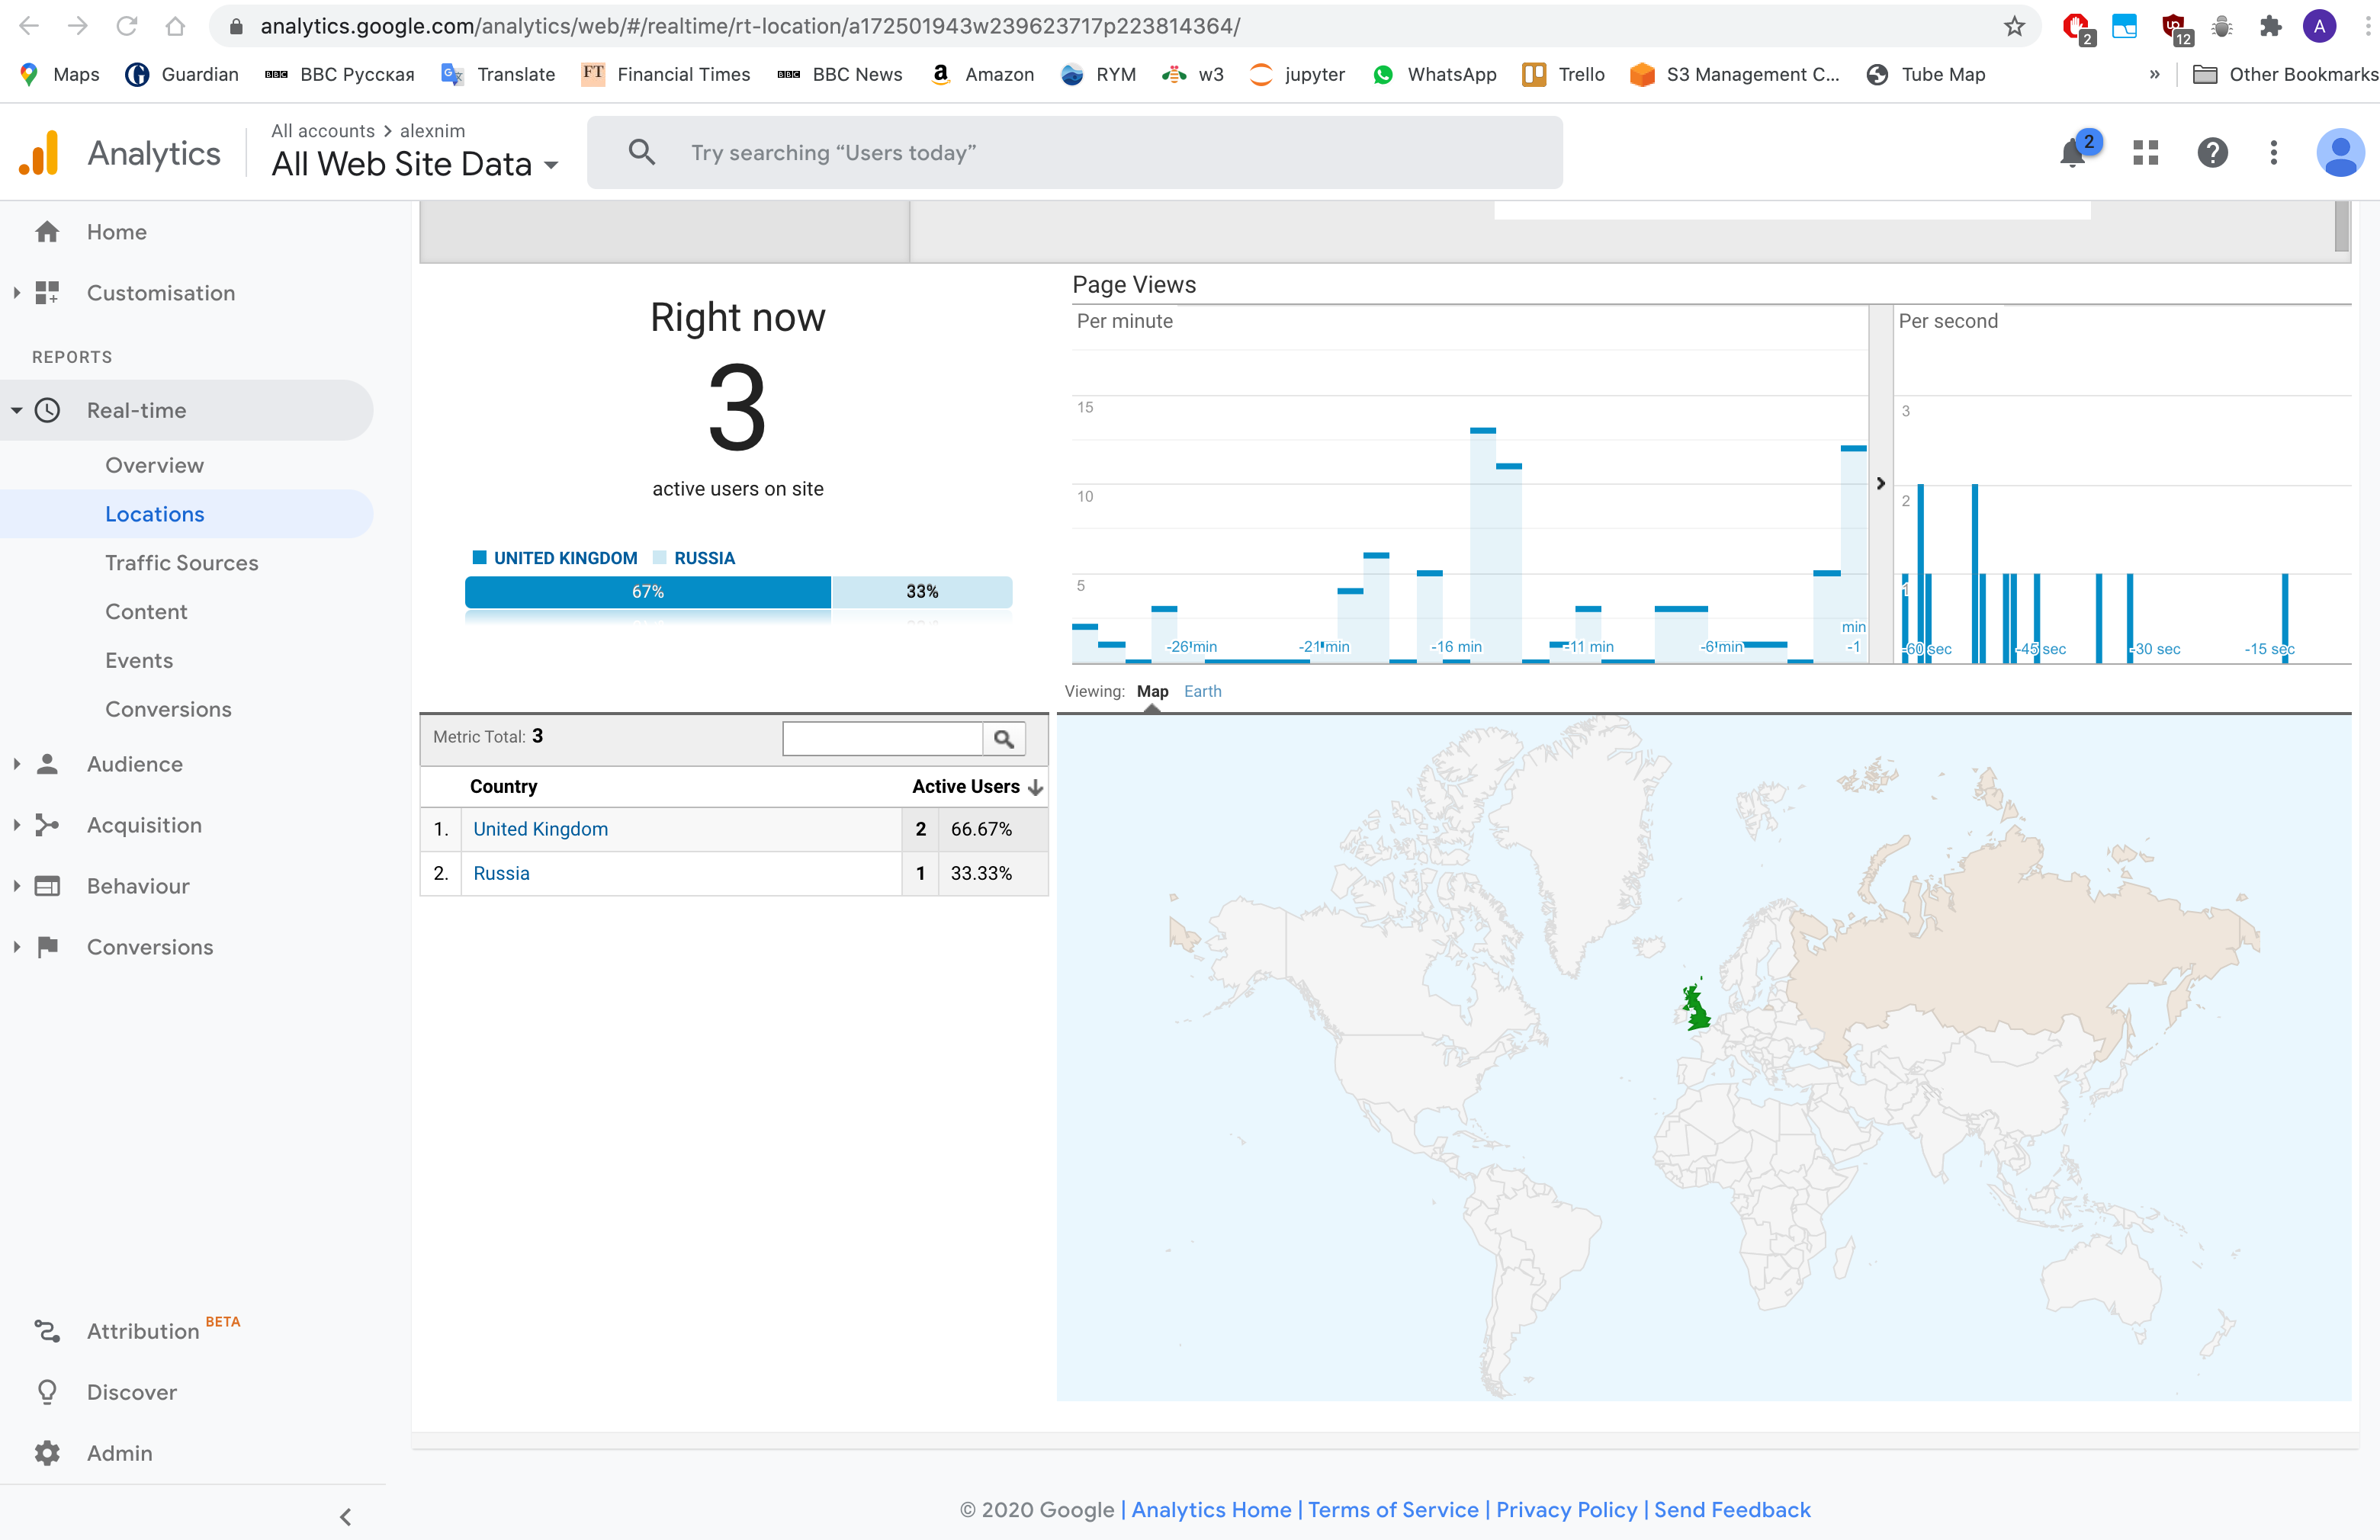
Website Analytics
A nice feature to have is to be able to monitor your web traffic and to derive statistical insight from this. AWS CloudFront does give me some tracking capabilities, however it's not particularly detailed. So, I created a Google Analytics account which will track my website traffic with a much better UI. I simply had to add the my Global Tag to the HTML code in every page for my website. See below for an example view:
Conclusion
Now that I’ve built the templates for my website with most of my backend features, I simply have to maintain it and build more content onto my AWS hosted environment . It’s been a pretty intense 3 months, but I’m very pleased with the outcome. Thanks for reading to the end!